Hello Mac OS X Tiger
The future is here!
2005! The future is here! You have just spent $129 for the newest release of Mac OS X: Tiger. You’re amazed by the brand new Spotlight and Safari RSS, you like your new OS so much you want to develop apps for it. You read on Apple’s website about this app “Xcode” that just received the version 2.0 update. That’s it! Time to code!
You fire up Safari, go to Yahoo! and start searching for Xcode tutorials, unfortunately, besides a bunch of Geocities websites mentioning “Web 2.0” (or whatever that means), you don’t find much information online on how to create apps for Tiger.
Wouldn’t it be nice to find a tutorial to help you to get started?
Getting started
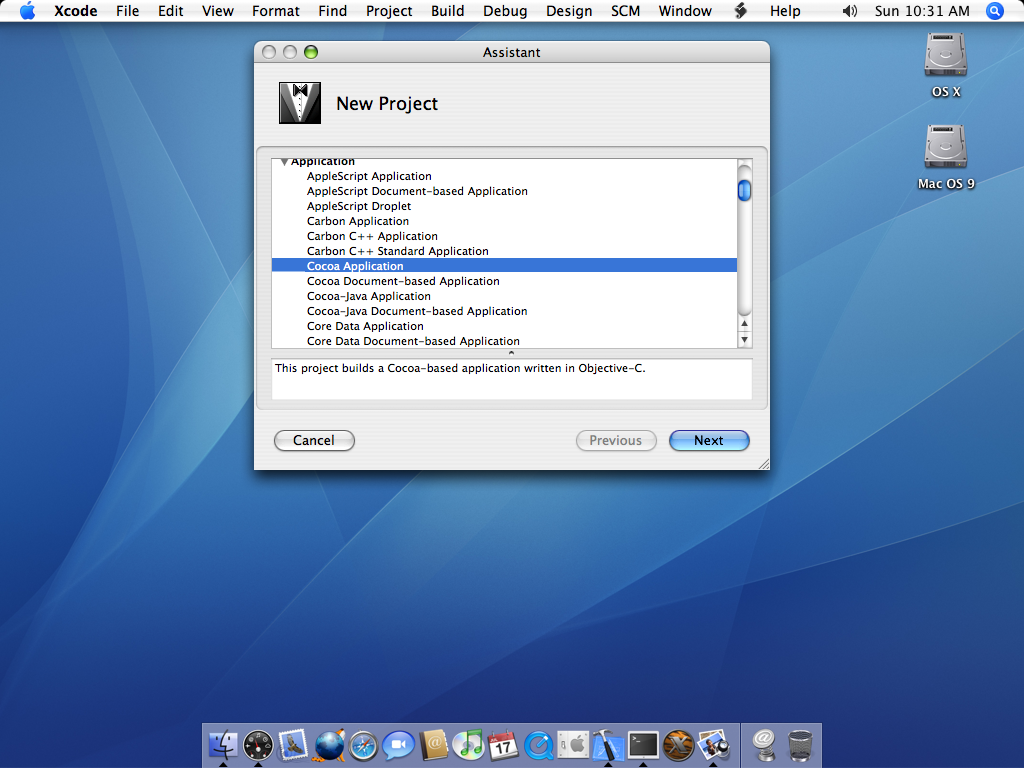
Open Xcode and select New Project, under Application, select Cocoa Application:
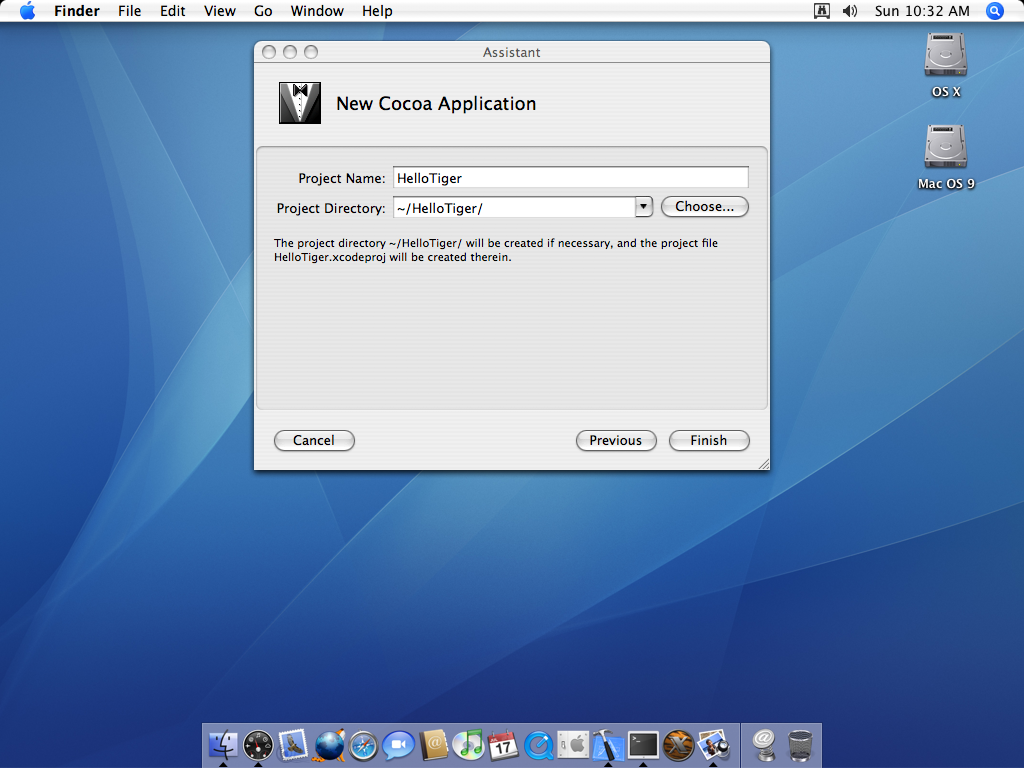
Write the project name like “Hello Tiger” and click Finish
Floating Windows Everywhere!
Now you have your basic project, not a lot going on, so let’s start changing it! On the left side, you can see your project files structure, expand the Resources folder and double click on MainMenu.nib.
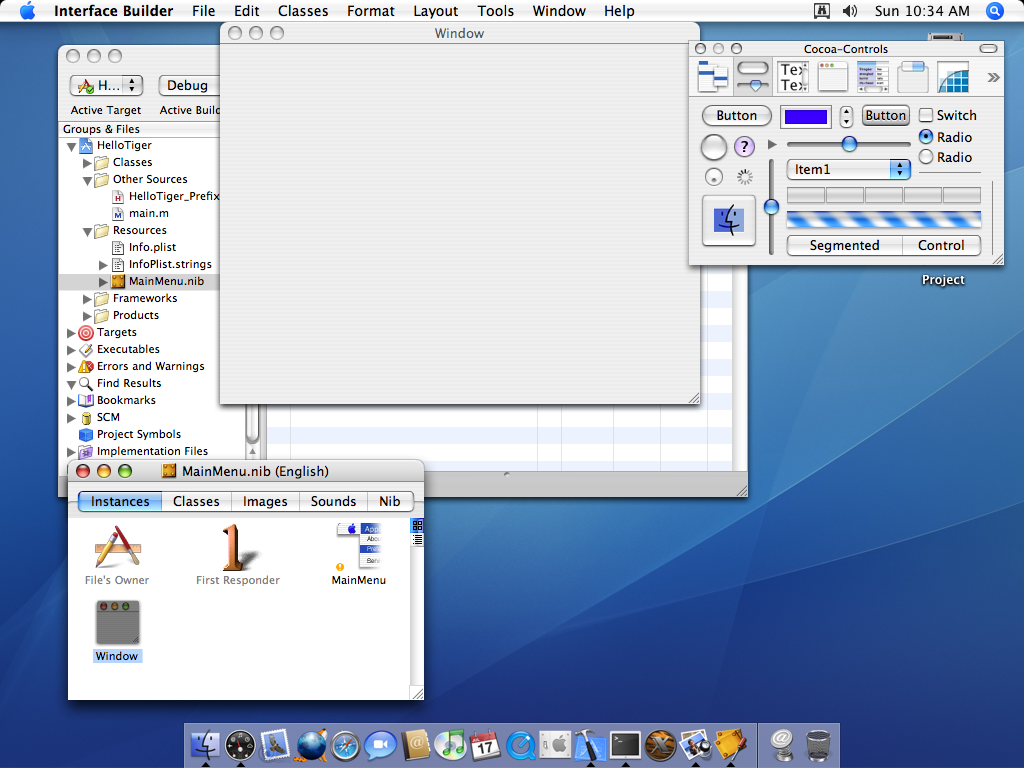
Interface Builder will open displaying your Window, the Cocoa controls and your nib instances. Let’s change the app main window by going on the Cocoa controls window and dragging and dropping a NSButton and two NSTextField like so:
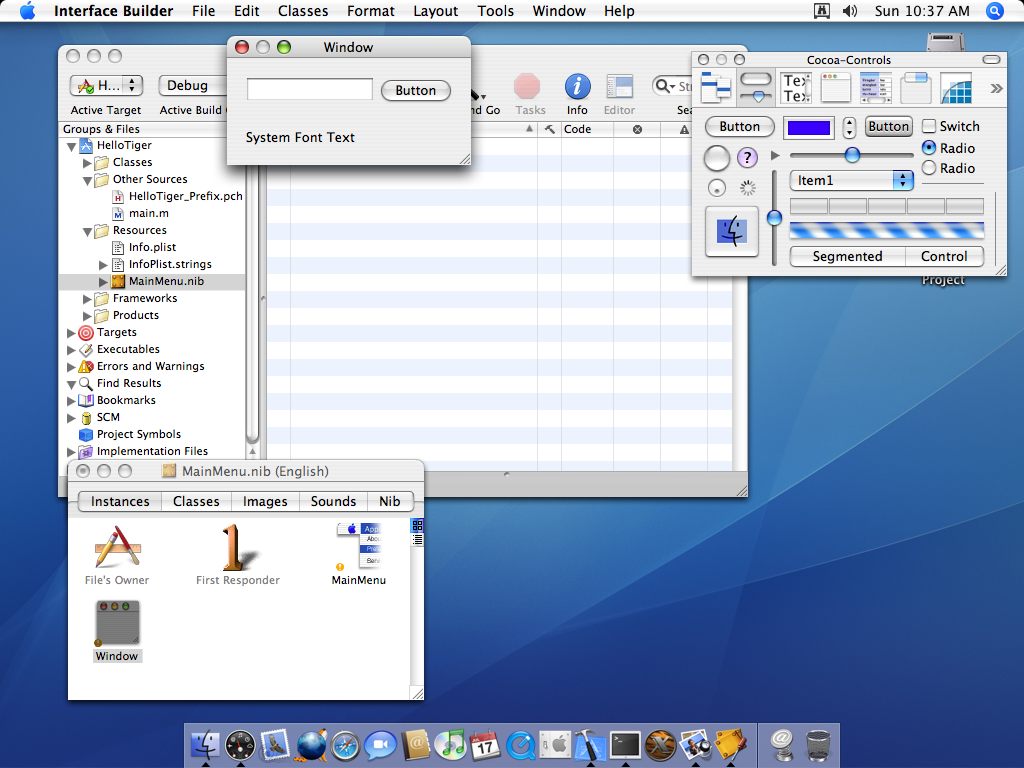
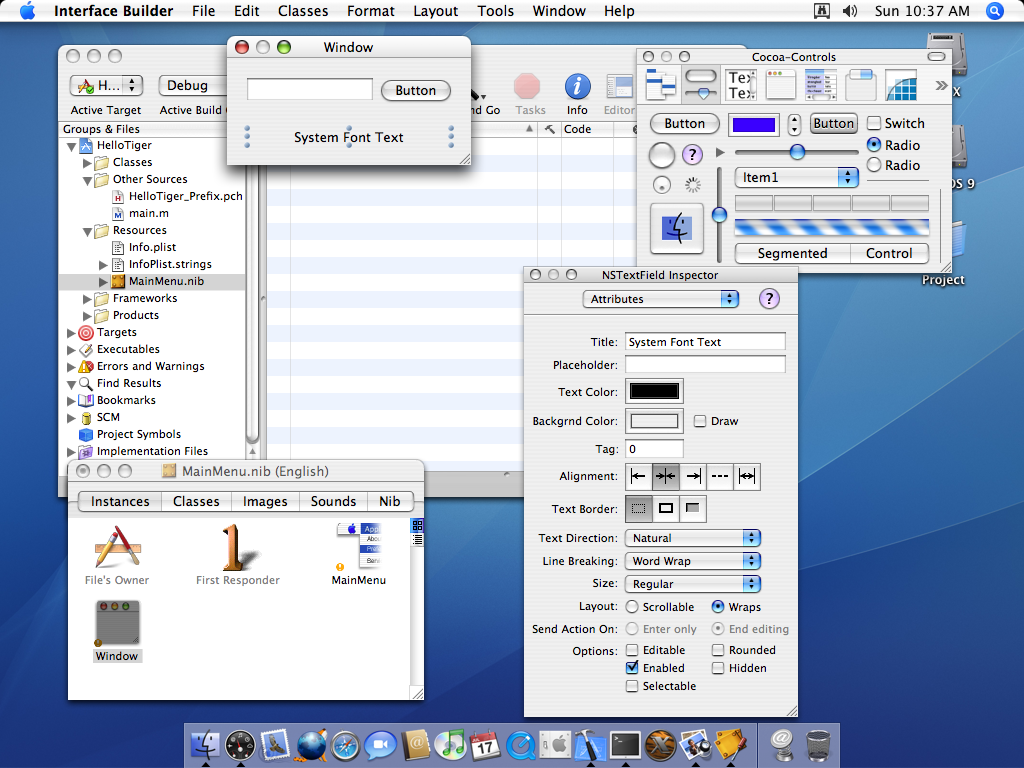
Now, let’s center the text on our bottom NSTextField, start by selecting it and then opening the Inspector with the shortcut shift + command + i or you can go to Tools -> Show Inspector.
Once the Inspector is opened, on Alignment, select the center option:
Connect the dots
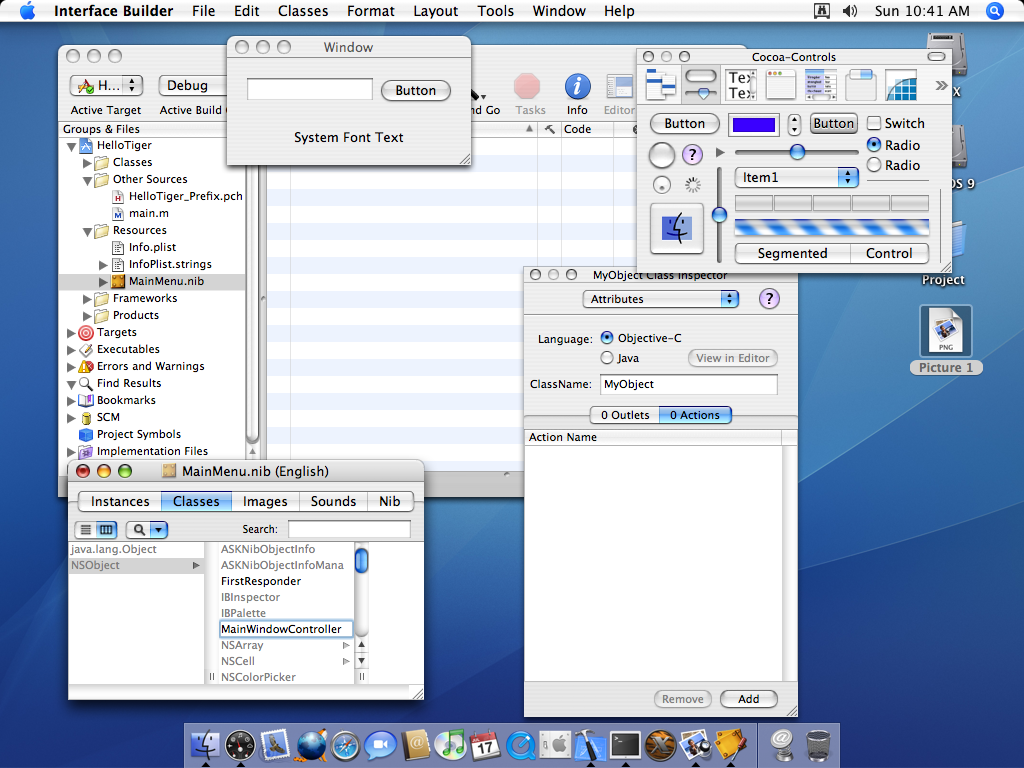
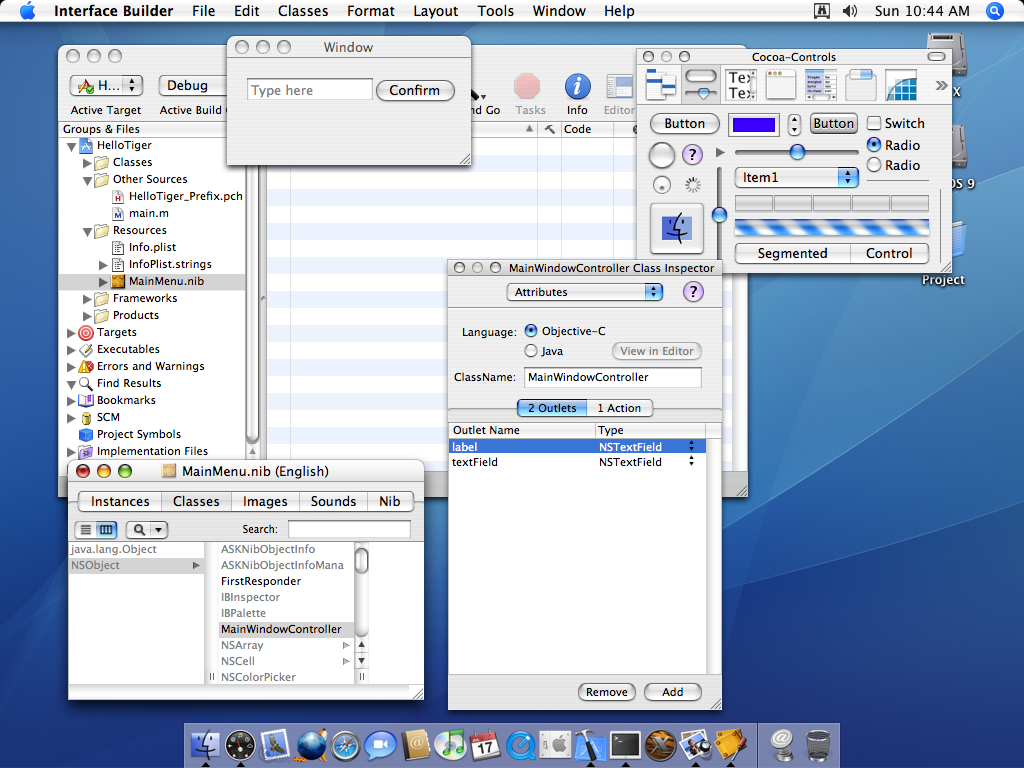
Your UI is ready, time to make it functional. The first thing you’ll want to do is to select the MainMenu.nib window, select Classes, select NSObject and press Enter. Name your new object “MainWindowController”, like so:
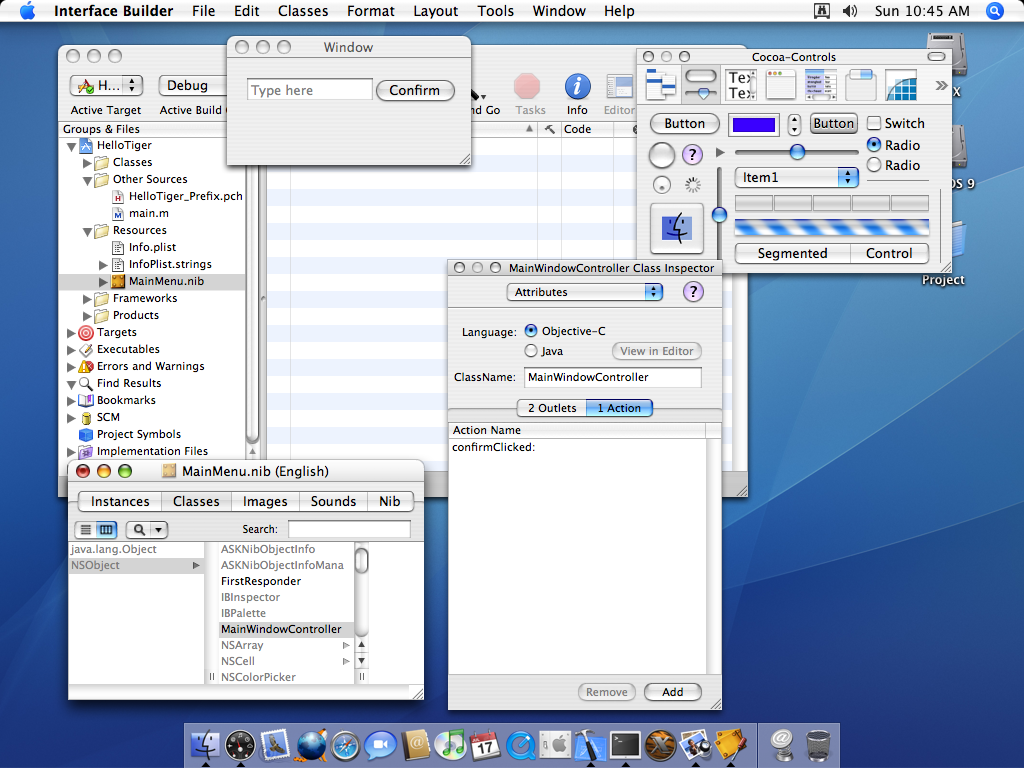
On the MainWindowController Inspector window, let’s add one action (confirmClicked) and two outlets (label and textField)
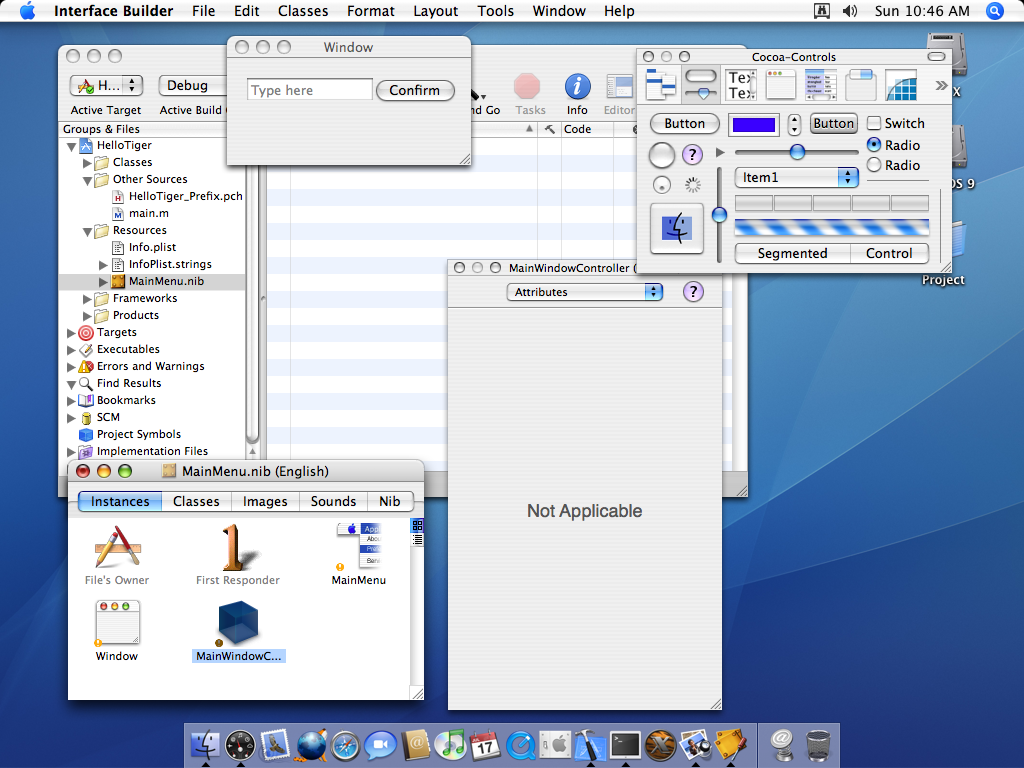
Next, go back to the MainMenu.nib, right click on your MainWindowController and select Instantiate MainWindowController
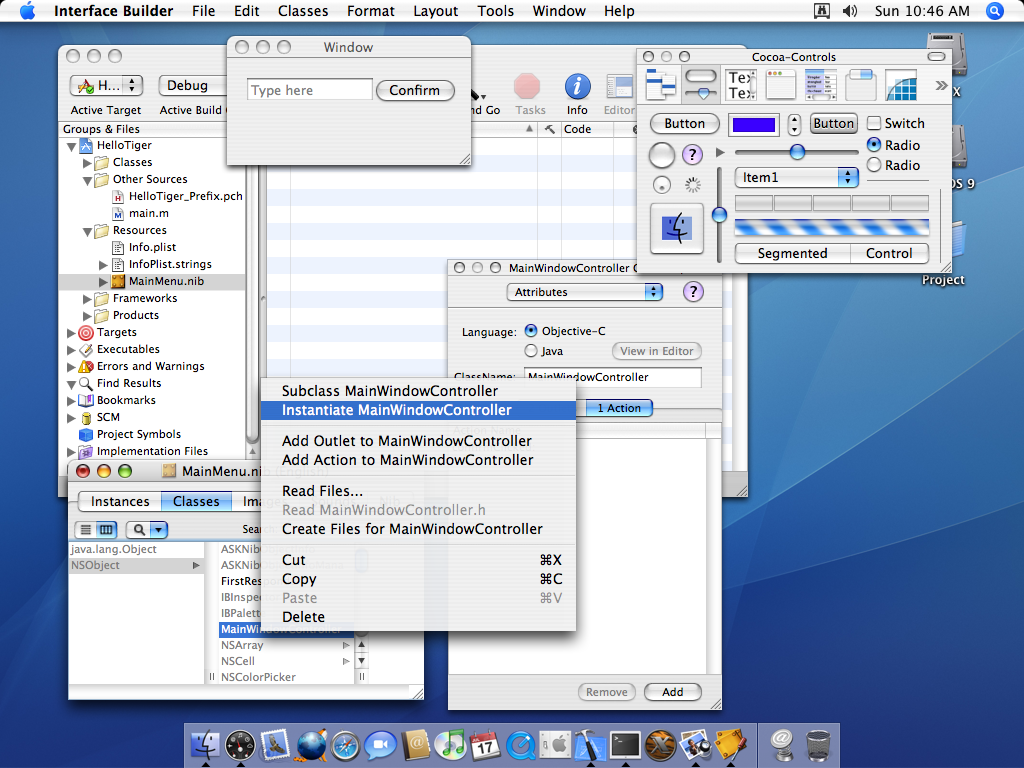
This will make an instance of MainWindowController on the Instances tab.
To connect the UI with your new object, hold the control key, click on the button on your UI and drag it to your instance.
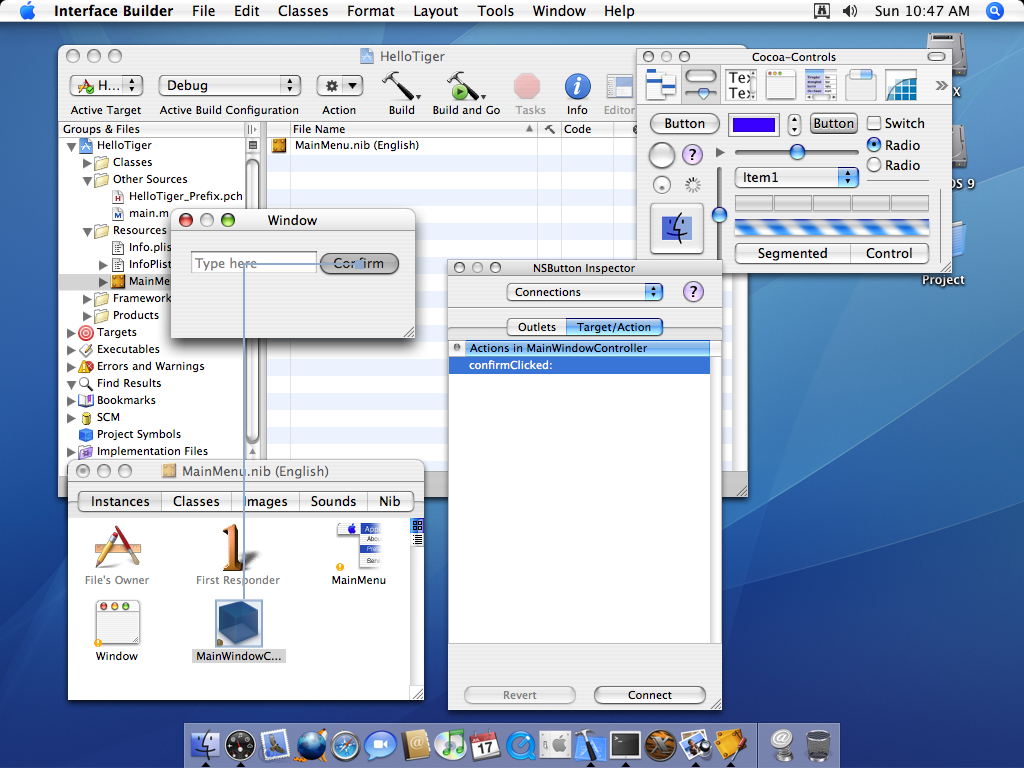
And to connect your outlets to the object, from your instance, hold the control key, click and drag to your UI elements, making sure the label is the bottom text and textField is the top one:

Time to code (not much though)
Finally, let’s create our actual object class and add some code to it.
Right click on your MainViewController and select Create Files for MainViewController
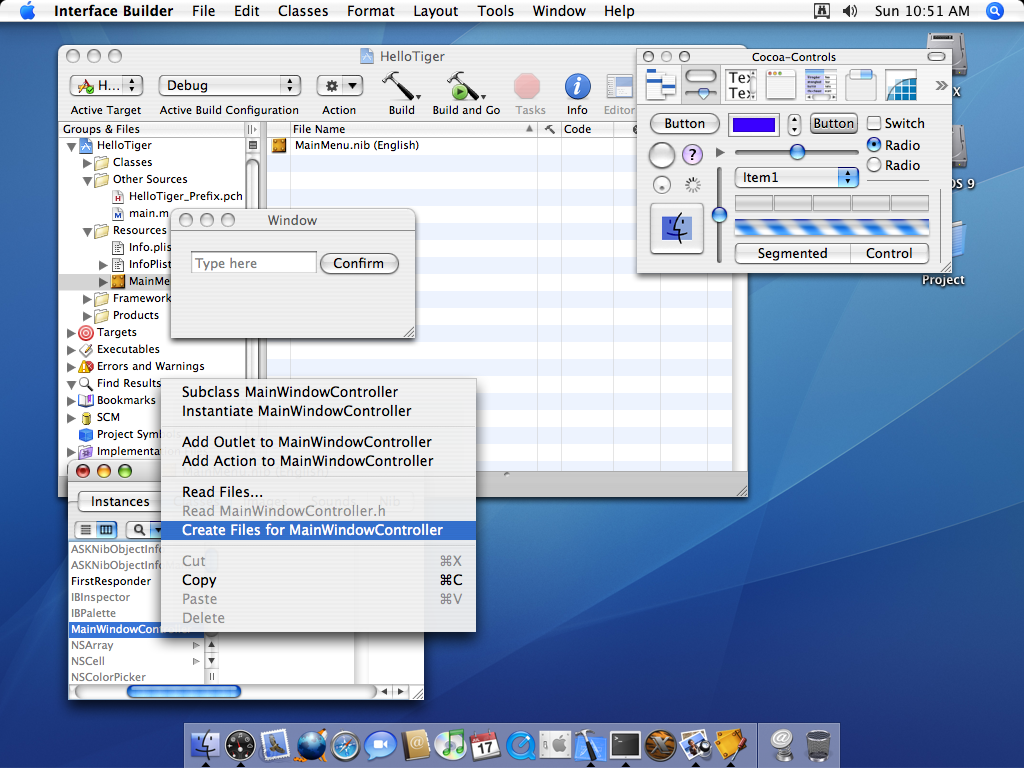
Once you confirm the file creation, you’ll see MainViewController.h and MainViewController.m on the left side of your project files navigation.
Note that the MainViewController.h already contains the declaration of both your outlets and your method
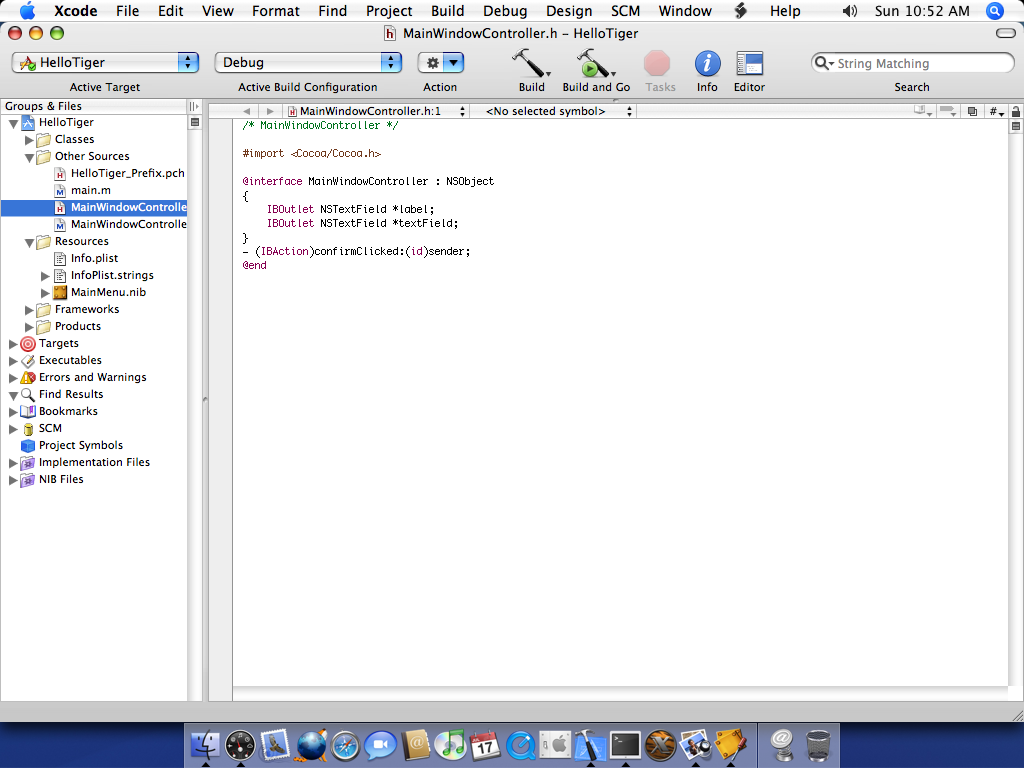
Open your MainViewController.m file and inside the - (IBAction)confirmClicked:(id)sender method, add
[label setStringValue:[textField stringValue]] which will just set the text from the textField to your label outlet.
Build and Go
Click on Build and Go and you’ll see your app, type anything on the textField, click on the button and there you go, your first app on Mac OS X Tiger

Where to go from here?
Now that you have taken your first steps on Cocoa development, the sky is the limit. Keep in mind that there are some rumors of Apple releasing their first phone, which will likely run some kind of Cocoa in it. Good thing you already know how to write applications for it, right?